Saturday, July 31, 2010

HOMEMADE HOT SAUCE RECIPE

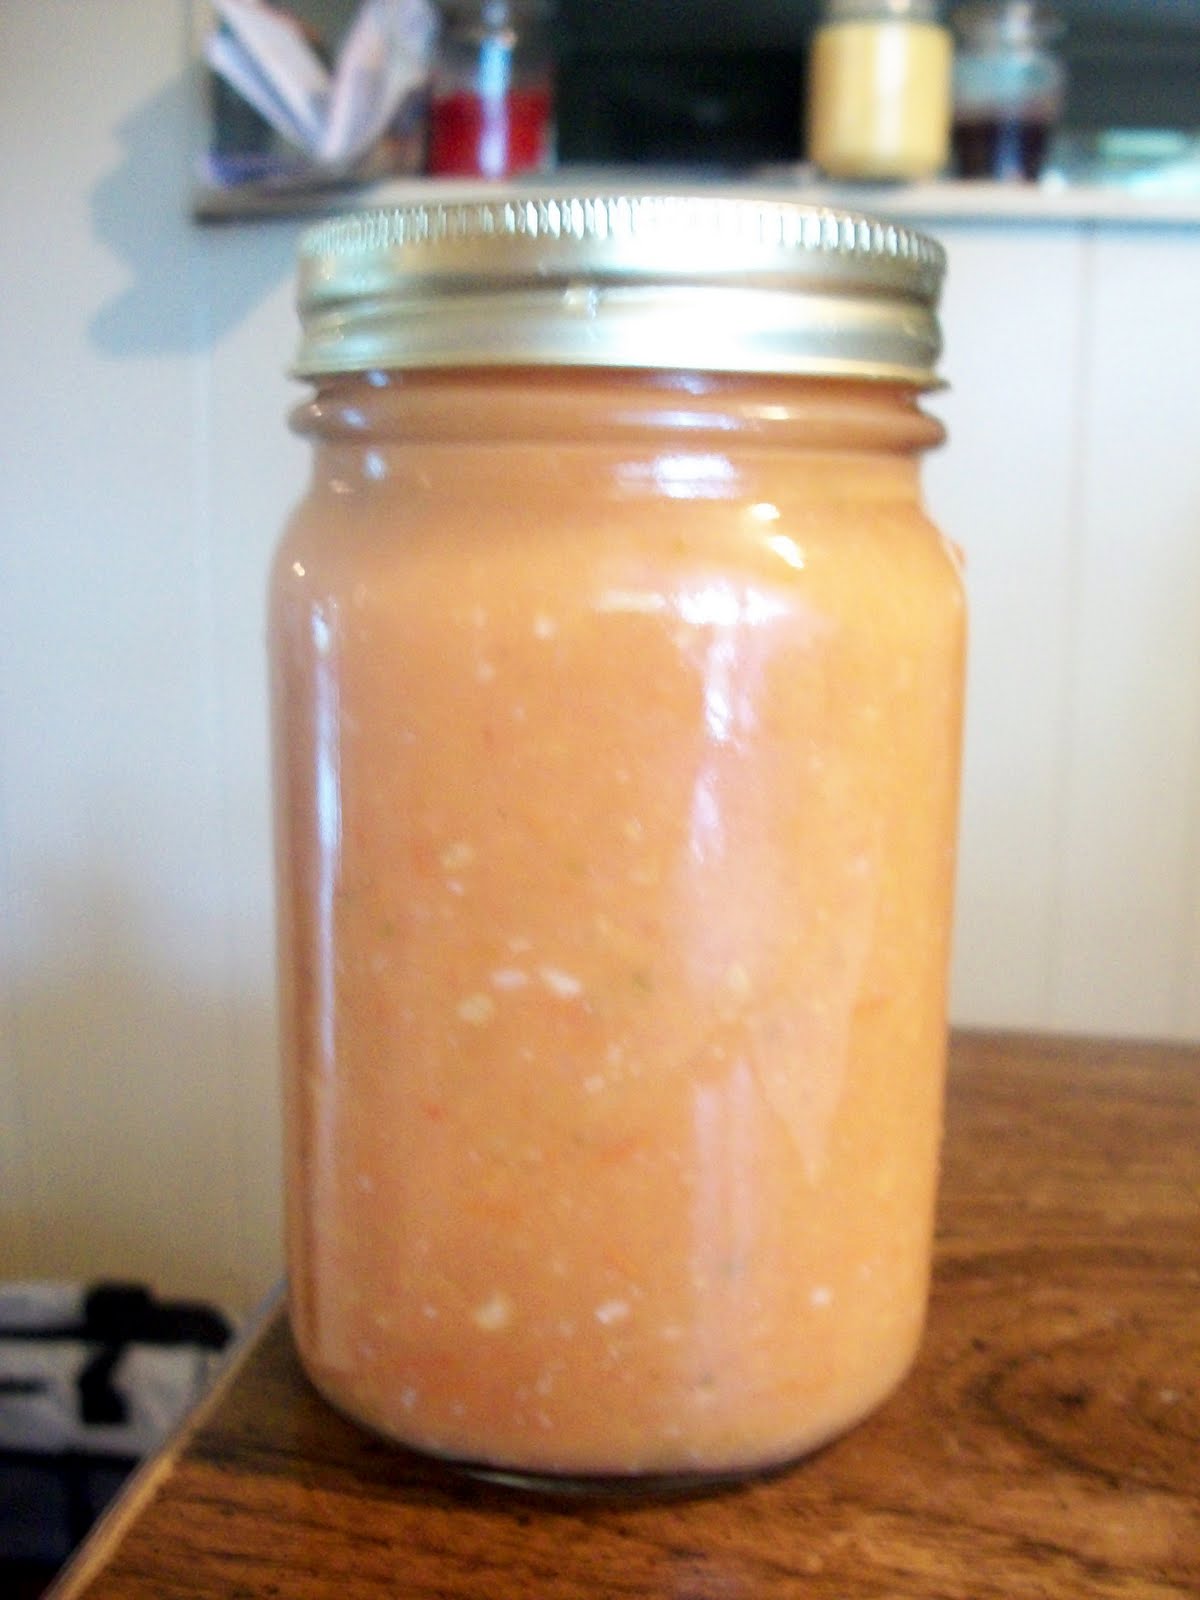
I looked online because of my abundant tomato and hot peppers and tried to find a hot sauce recipe.  This is the one I came up with and made.   I think the next time I will try less vinegar and more hot peppers, although it tastes pretty good.  It's more of a creamy sauce than liquid.
Here's the link.  They have other recipes and a lot of good tips to help.


Ingredients:
4 cloves of minced garlic
1 cup of diced red onion
2 to 3 cups of diced tomatoes
3 tablespoons of extra virgin olive oil
2 medium chili peppers (I used green salsa peppers)
4 habanero peppers, seeded (I used jalepeno)
1/2 cup of distilled white vinegar
2 teaspoons salt
2 teaspoons white sugar

Directions:
1. Over medium heat in a large saucepan, heat oil and add the onion, chili peppers, habanero peppers and garlic. Cook for 3 to 4 minutes, or until the onions begin to brown. Stir continuously.

2. Reduce heat. Add the vinegar, tomatoes, salt and sugar. Stir until the tomatoes break down. Roughly 6 minutes.

3. Place mixture in blender and blend until a puree is formed.

4. Pour mixture through a fine mesh sieve. (I just have a regular colander)

5. Let mixture cool for an hour.
There you have it. Pretty simple and can be done in under an hour.

Friday, July 30, 2010

DRYING HERBS

(The herbs on cookie sheets lined with paper towels)
Well, I did this a few times through the years on a small scale, but this year the dill, parsley and basil have   been growing like crazy and I haven't wanted it to go to waste.   

I'm including 3 different links where you can find several  methods of drying herbs.  I've used the microwave and oven.   They both have worked great.  I'm still going to dry them throughout the summer as they keep growing, but wanted to give you a little heads up in case you're in the same spot I was in.
 (Basil on the left, parsley in the middle, and dill seeds on the right)

Links for information on drying herbs---


Thursday, July 29, 2010

QUICHE


Ingredients:
2 frozen pie crusts or pie crusts from the dairy section
1 pound mild colby or cheddar cheese, shredded
1 (10 oz) frozen chopped broccoli or chopped spinach, thawed and excess juice squeezed out
1/2 medium onion, chopped
2 tbsp. margarine or butter
4 eggs
3 slices ham (lunchmeat), cut into pieces
1 (4 oz.) can mushroom pieces, drained (optional)
Garlic salt
Ground black pepper

   Sauté onions in margarine. Set aside. Add shredded cheddar cheese into bowl with onion mixture, broccoli, ham, mushrooms and beaten eggs. 
Add a little garlic salt and pepper. Mix and pour into pre-baked pie shells. 

Bake in oven at 350 degrees for at least 45 minutes to an hour or until the top is lightly browned and bubbly.  
 
Let cool a bit and slice and serve.    Tastes great with the marinated cucumber salad I put on here last week.

SIMPLE ITALIAN TOMATO SAUCE


Ingredients:
3 tsp.  olive oil
3 garlic cloves (smashed, peeled, and minced)
1 tsp. dried or fresh basil (chopped)
½ tsp. oregano
4 to 6 cups fresh Roma tomatoes (cut into 1 inch pieces)
Salt and pepper 

Put olive oil in a large sauce pan over medium heat. Add garlic and cook about 1 minute, stirring constantly.

Add basil, tomatoes, salt and pepper (to taste). Turn to medium high heat and when the mixture comes to a boil, reduce heat to low and allow to simmer until it cooks down and thickens--- uncovered. 
Remember to stir occasionally so it doesn't stick to bottom. With a fork or I use a large slotted spoon, mash the tomatoes down as they cook so it can be smooth.
I add a tsp. of sugar to cut down the acidity.   It's okay if the sauce is a little chunky.  Sometimes I put it in the food processor to make it smoother. 
When it is finished in the food processor, it has the consistency of  tomato puree mixture .
This may be used
to make a pizza or over pasta. Hope you enjoy it!

Sunday, July 18, 2010

GARDEN FRESH MARINATED CUCUMBER SALAD


3 medium, firm cucumbers  and   3 ripe tomatoes
1 medium white onion                               
1 medium green bell pepper
Garlic salt and pepper
Parsley (optional)


   Cut tomatoes and green peppers into chunks and slice cucumbers and onions and place all into a medium-sized bowl.
 
 Season according to your taste with garlic salt and black pepper and toss well. Chill in the refrigerator for at least 30 minutes and serve. It tastes so good.   
 
Another important tip,  don't make it too far ahead or it will get too soggy and limp.  You want to serve it relatively fresh.

Friday, July 16, 2010

GARDEN FRESH SALSA


12 very, very ripe and firm tomatoes, preferably Roma
1 medium green bell pepper
2-3 jalapeno, hot wax pepper or any kind HOT pepper
A little fresh parsley
1 large onion
3 cloves garlic
1 small, seeded cucumber
Salt


Cut up and cube all the tomatoes into bite-sized pieces.  Do likewise with peppers, onions, and seeded cucumber.  Chop up garlic and add.  
 
Mix into a large bowl and put into a food processor or blender (whichever works best for you) a little at a time and pulse or chop to the consistency you would like your salsa to be. 

Place pureed mixture into another bowl until the process is totally completed. When you finish pureeing all the vegetables, put them into a colander and let all excess juices drain (there will be a lot). 

 
Put mixture back into the bowl and start salting with a teaspoon of salt at first.  Mix and taste and continue to do so shaking the salt a little at a time until you get the flavor you would like. Remember not to  OVERSALT  because the salt needs to absorb into the vegetables, and you may not realize it at first.   Now remember also that homemade salsa will NOT have the deep red color that the bottled salsas have. 

Put the salsa into enclosed containers to refrigerate.  Serve with tortilla chips and you  will have some great homemade salsa!! 
(All the above ingredients made this larger disposable container full)

ALSO,  A REALLY IMPORTANT TIP:   HOMEMADE SALSA TASTES BEST WITHIN THE FIRST TWO DAYS!

CROCKED SALT BRINE GARLIC DILL PICKLES

This recipe will be to make a quart at a time. Depending on how many cucumbers you have available, you can make from a quart at a time to a gallon or two. It's VERY important that you use glass or a pottery crock to make these pickles.
Ingredients:
5-7  fresh garden cucumbers, depending on size (washed and cut into spears)
3 fresh sprigs of dill (with or without seeds)
Garlic (3-4 cloves, sliced)
Salt
After dill and garlic are washed and cut, put into the bottom and side of jar. Place cut cucumbers  into jar and  pack very tight so there is as little space as possible between them.   In the meanwhile, boil about 2 - 3  cups of water add approximately 2 to 3 Tbs. of salt.. mix well and taste.. if it isn't real salty, add a little more.  (Remember the salt will absorb into the cucumbers, so  you can add a little more salt to it. 

When it comes to a rolling boil, pour carefully over top of bottled cucumbers 
until totally covered.  (I put the jar in the sink while I fill up with water)
Let sit until cooled and place lid on.  Taste again with your finger dipped in the brine to see if it’s  salty enough.  Set aside and cover and let sit for 4 days.  Don't shake or move a lot.   This is the fermenting process and you don't want to disturb it.  Let it be still on your counter top.
 (The next day  when you take off the lid, you can see it bubbling, which is how it ferments)

Usually a good 4 full  days is enough to make the pickles. Do a taste taste o the 4th day. THEY MUST NOT BE REFRIGERATED YET!  
(This is the second day)

  This is the fermenting process that must take place. You can taste the brine each day and when the pickles start taking on a light green and whitish color and the brine tastes right, you will know it is time.  
 (This is the beginning of the 3rd day--see the color change)
Ready to go into the fridge...


When they are done, put in refrigerator to chill and they will be crisp and tasty. I guarantee this will become a family favorite. Another TIP * These pickles taste best within the first week no longer than 2 weeks.   They are not canned.   Make sure you eat them up.  That's why I only make a quart or a gallon at a time when I know the family will be over to eat them.
I will have pics tomorrow on the final day to show you how they look when they're done and ready to eat.