One of the big projects I wanted to do was a raised garden bed. Also known as square foot gardening. I had seen the idea many times and decided what I wanted. Tom helped me by buying two 4' x 4' kits making the garden 4' x 8'. I thought this would be adequate. Then the combination of soils we bought was the Miracle Grow potting soil which feeds for 6 months plus mushroom compost, vermiculite and sphagnum peat moss. On the bottom we put a couple of bags of pebbles and gravel for drainage. Then a very thick layer of newspaper (not the shiny colored kind just regular black and white). Mixed the soil on top of a large tarp until it was blended and then filled the bed with it. Then the next idea I saw was how to keep all the varmints out, including neighborhood cats, squirrels, and chipmunks until I could be sure they were safe. (of course, I'll probably have to re-cover later).
So I told Tom my idea and showed him some pictures and he came up with the pvc pipe and connectors to make what I call my "covered wagon" garden. :) I bought Bird Block from Home Depot to cover and protect it. I used those little ties to connect it to the pipe.. and voila!! Now it's been a little over a month and here's some more pics.

A little more growth

And a little more growth...


A closeup of the first plum tomato

It's getting there... more to come.

Here it is now with tomatoes all ripening on the vines.


As the summer went along and the heat was unbearable, a lot of the plants were not producing, so I pulled out some of the stuff, (including cucumber plants that just died)... trimmed back many of the tomato plants and decided to plant radishes, lettuce and another crop of cucumbers. I figured as of July 30th, we had at least two good months of growing left. So this is the beginning of the new crop. I may try some other seeds as fall comes.

The second thing I wanted to do was to fix up the back of the garage which is the view I see from our new deck from last year. It definitely was NOT a sight for sore eyes, but made my eyes sore (ha long story). Anyway, my hubby and daughter helped clean up the area and then I went into action.
I dug up the area closest to the deck steps and covered it with black plastic to keep the weeds down. Then I added a couple combos of soil and vermiculite, etc. and planted impatiens (especially because it's very shady) and begonias and a few marigolds.
The next part of the project included filling in the nearly 10' next to the flowers which had been home to the trash cans, wheelbarrow and such. Underneath, my husband had built it up with a brick surface and tons of stones to keep the drainage from the rain. Instead of digging up ALL the bricks and stones, I decided to keep them there and cover with black plastic and buy bags of chipped white marble stones. So, I did that. Bought 6-50# bags of stone to cover and before I did that I bought red interlocking stone for edging. This took a little time because I had to dig and shape for these to fit into.
I 've had mole problems as well, so this has not helped the evenness of the stones. With the 13 stones set into place, I spread the white marble stones. I will have to keep an eye on it because of the moles, but it doesn't look too bad.

Here's the view from the yard looking at the deck and back of garage now.

I love how the impatiens have grown in.
I also bought a couple of those upside down planters just for the heck of it. They only cost $2 so I didn't think I was going to lose much. One has a tomato and the other is for peppers. It had enough spots for 7 pepper plants.


This was when they were first planted.
 See how much its grown and the tomatoes on it.


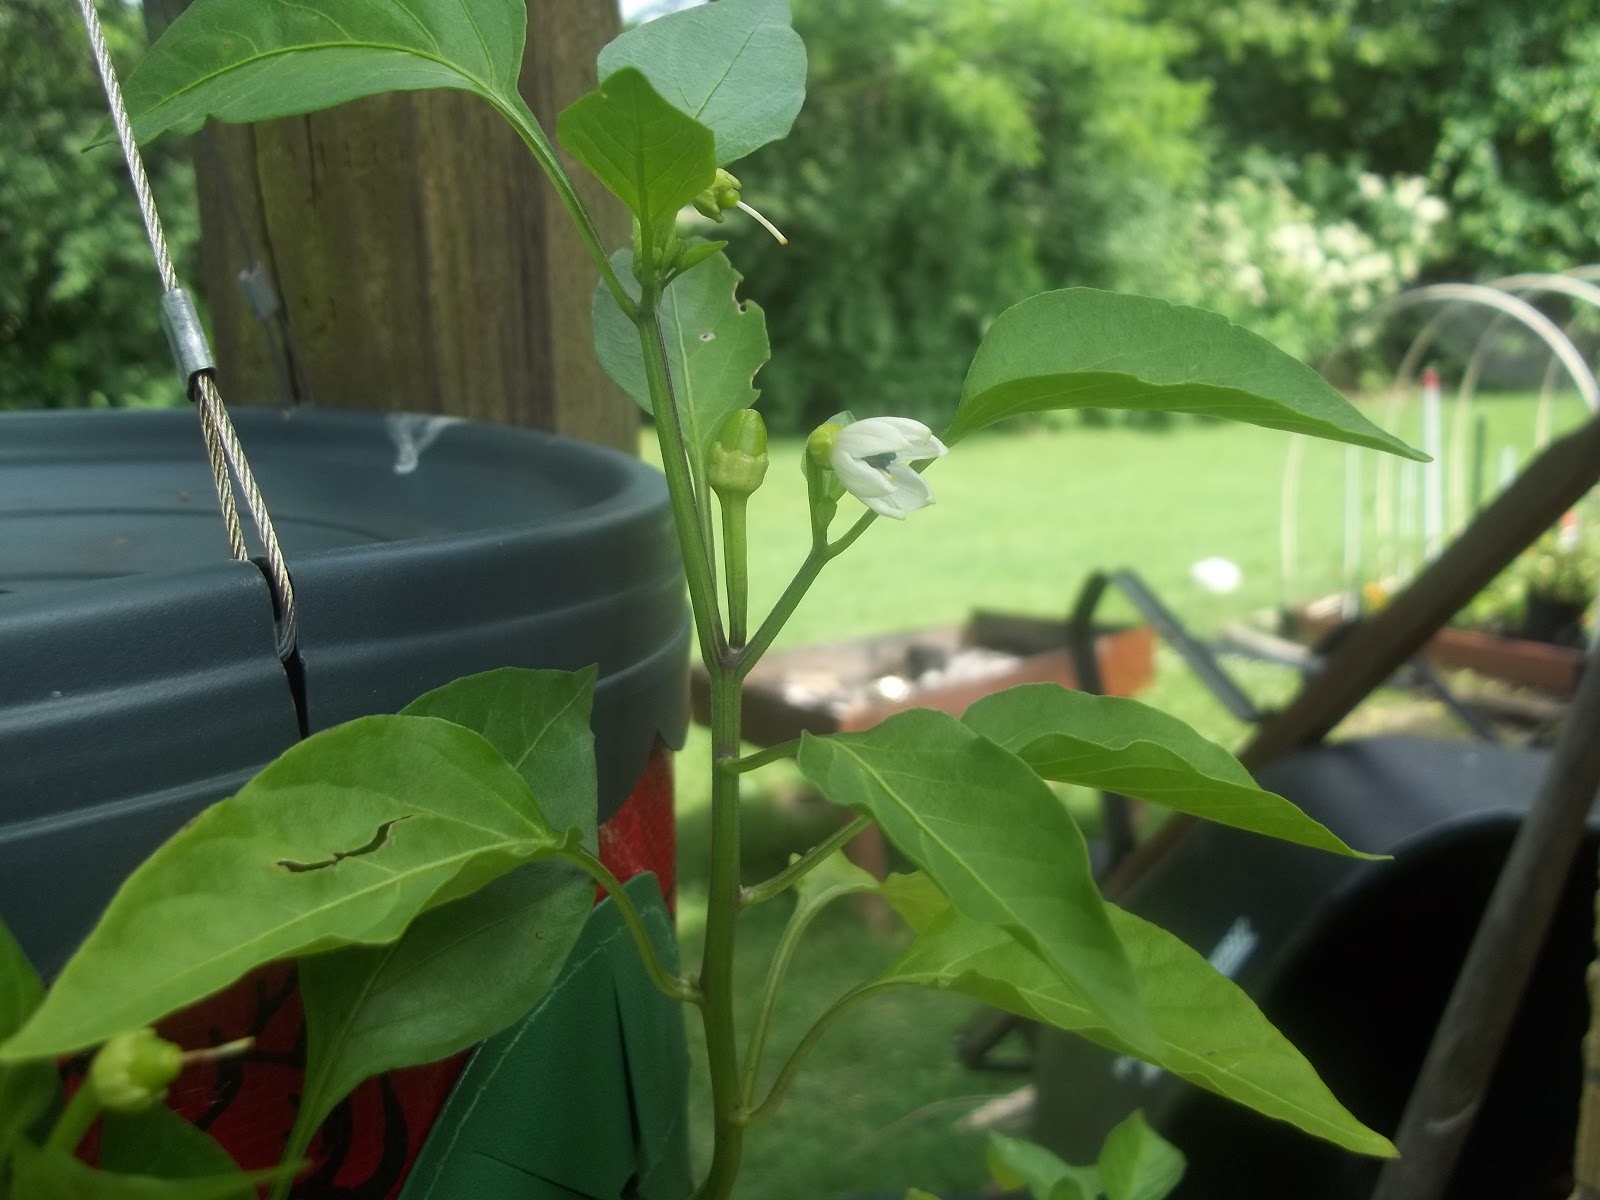
Now you can see a little bit of the jalapeno and Hungarian hot wax peppers that are forming. Pretty cool.
(P.S. I wouldn't buy them again. Not that productive)
Another cool idea I got was from Pinterest (gotta love that site). Put the celery stalk in the garden and watch the leaves grow. You can cut and use for soups and sauces or potato salads. Great idea and YES it works.

I've got 3 of them now. Amazing.

It 's neat to see how the celery has grown. Now it can be pinched to use in soups or dried to use later.

Well, here's the celery leaves from the celery I grew above. I washed the leaves and placed them on a paper towel lined cookie sheet and placed in the lowest setting in the oven. It takes any where from 1 and 1/2 hours to 2 hours to totally dry.

When it's all cooled, remove the hard stems and place in a small ziplock baggie and label it.

Now, my kids teased me and said, "Sure it's celery leaves." Yes it definitely is.
Now just some of the flowers which grace the yard. I just love to look at them every day and watch them grow and change. I marvel in the creation that God has given us to enjoy. What a blessing. Can you imagine what heaven will be like?
I can only imagine....
I can only imagine....


This is the second time the knock out roses have bloomed along side the yellow daisies.


The yellow and pink miniature rose bushes I planted on the edge of the wall.