When making pysanky, it goes through a series of stages. I will be taking pictures more in the future of these different stages to allow it to be more tutorial.
The first stage is drawing or writing the design on the egg as shown here.
These photos can show you designs that you are free to use on your own eggs.
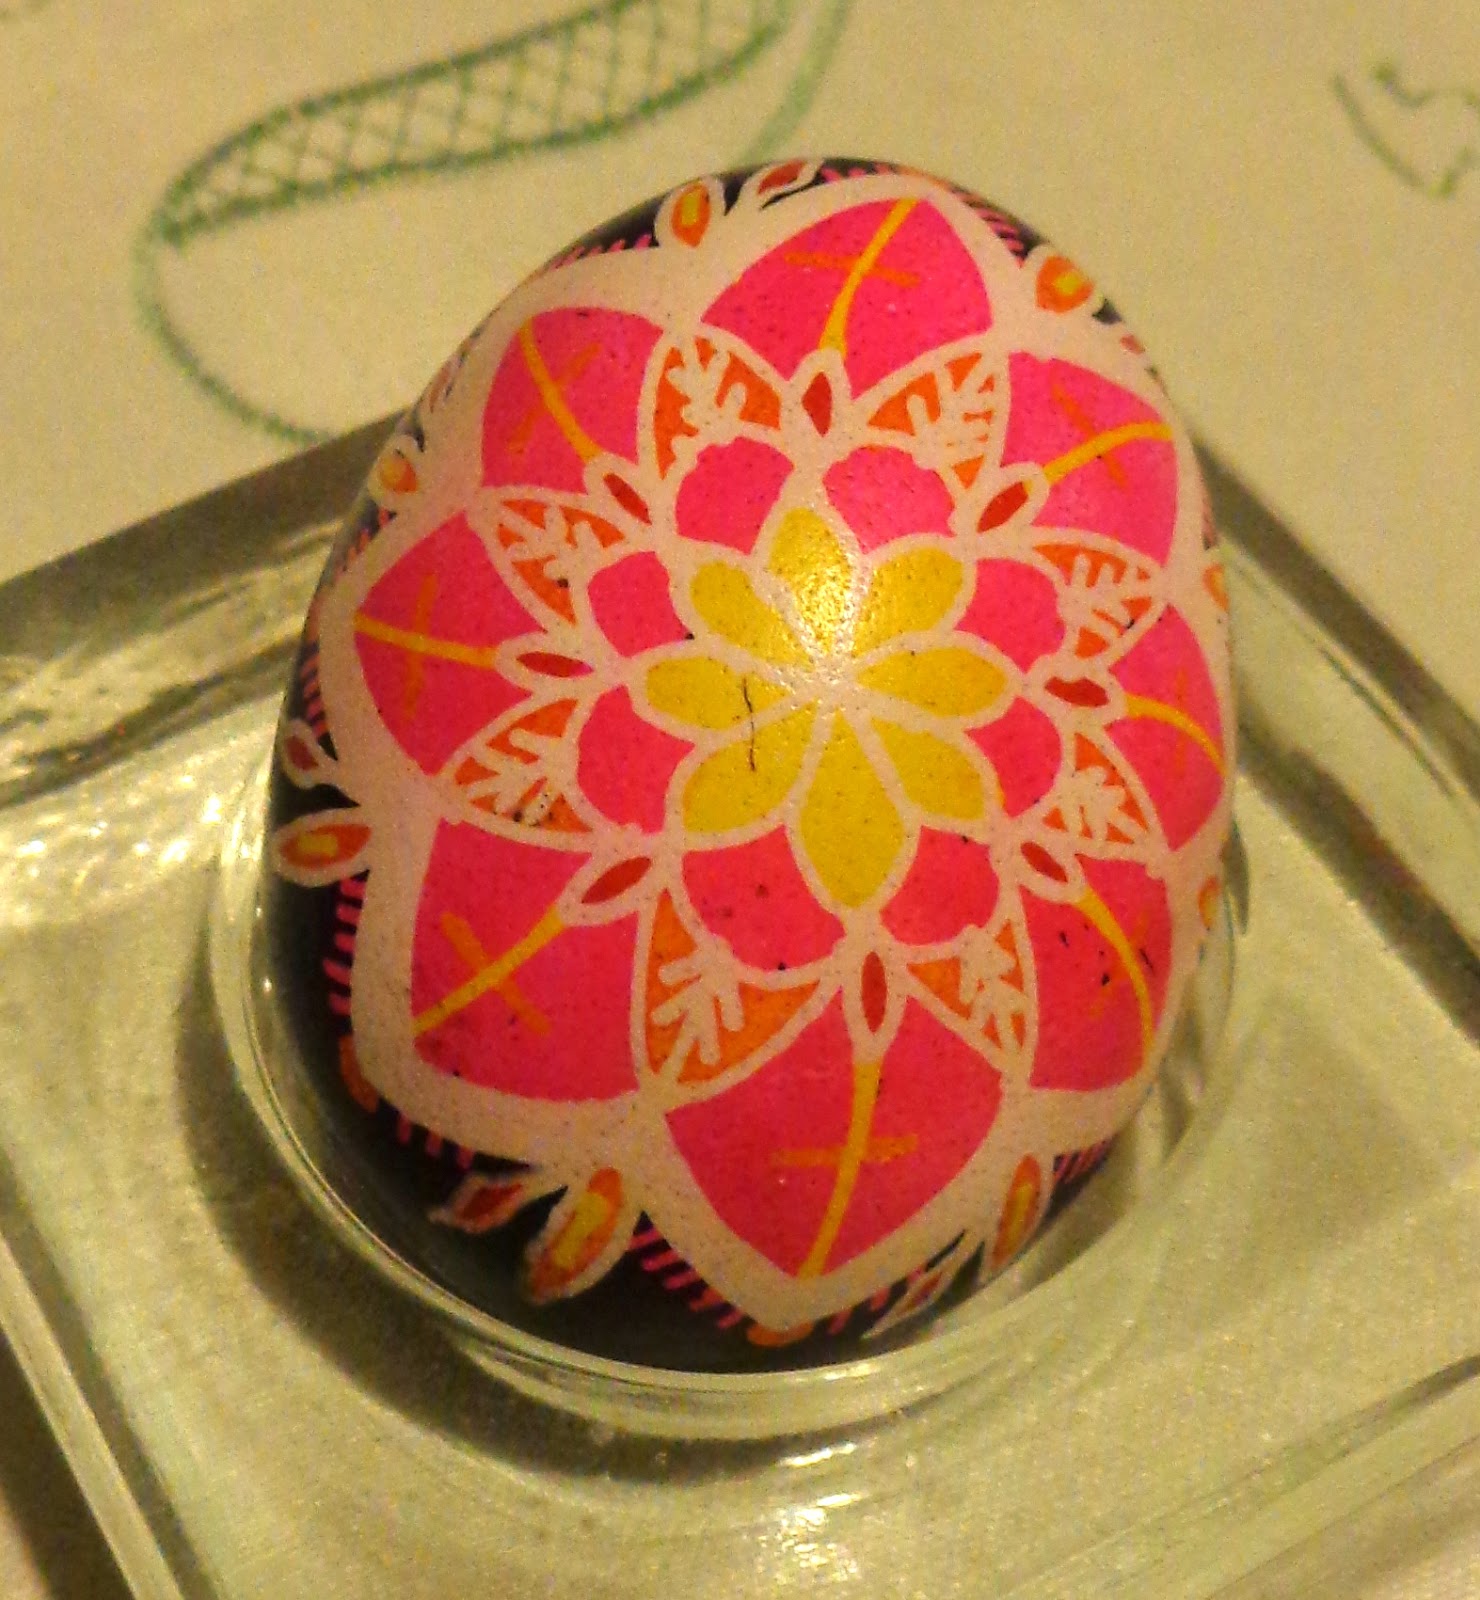
The next step would be to put the egg into the lightest dye first. The fuschia one pictured was just going to be white and fuschia---that's why I used that as a first and last dip.
You cover with wax everything (in this case) you want to keep yellow.
Then you go on to dip into the various colors of dyes.
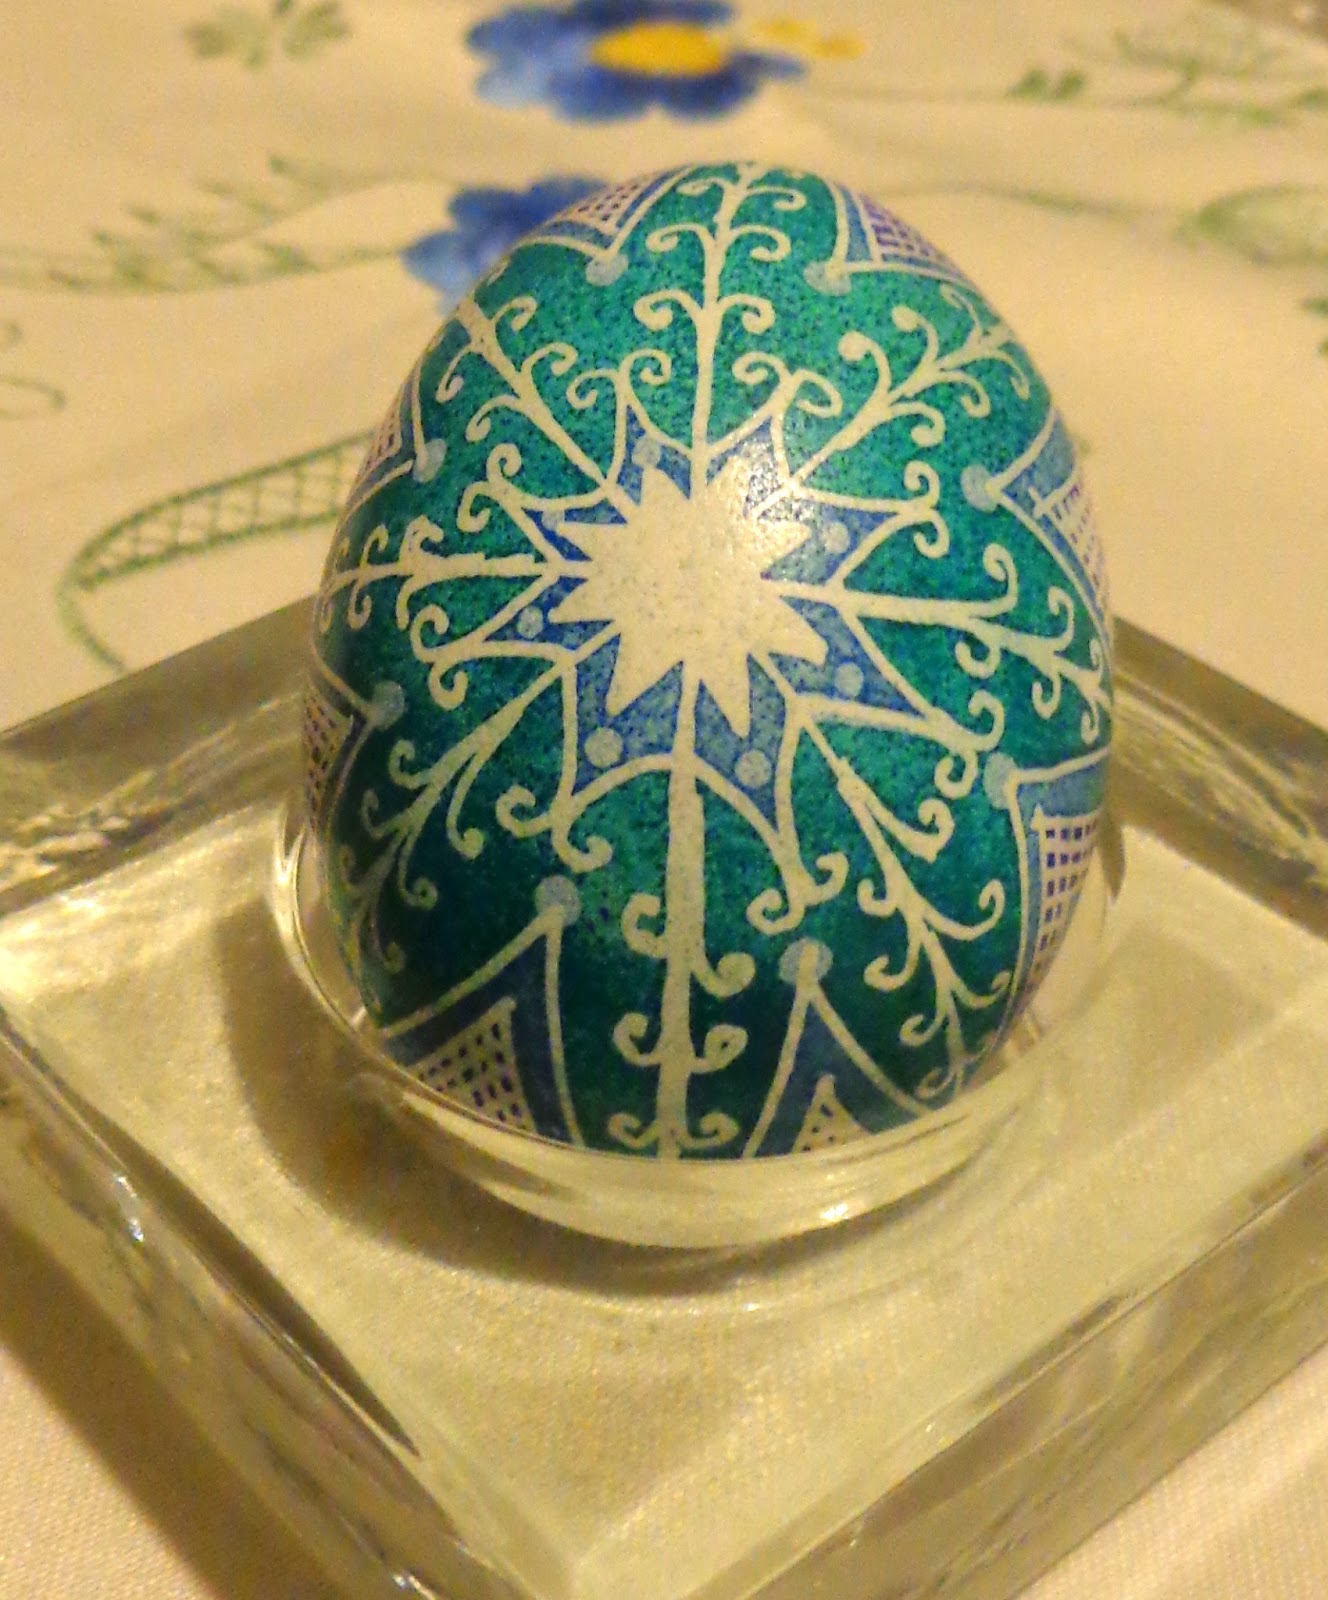
When they are all completed, before the wax is removed---this is what they look like.
If you click on the picture to enlarge it, you can see all the colors of dyes underneath the wax which has protected it.
I will put a picture on in the near future of how the wax is removed by placing it to the side of a candle and wiping it away.
When that is done, a hole is drilled in the bottom of the egg with these tools. A Blas-fix egg blower.
The green drill is on the left and the yellow pump is on the right.
The green drill is placed into the bottom of the egg and pushed and twisted til it breaks through.
Then the pump is placed into the hole and gently squeezed until all the egg is out. (sometimes it takes up to 2 days to get everything out. I keep them in an egg carton lined in paper towels and have it sit bottom down to continue to drain.)
The final stage is to coat the egg with something like varnish or polyurethane spray to help give the egg a nice shiny finish as well as strengthen the egg).
I use Minwax Fast Drying Polyurethane Clear Semi-Gloss
I also use the gloves you were to color your hair. Place the egg in your gloved-hand and spray the polyurethane generously over the egg. Roll the egg around til completely covered.
Then, put the eggs on a board like this one (I made it out of heavy duty cardboard and pushed thumbtacks into it to allow the egg to be put on the bottom or sides to dry).
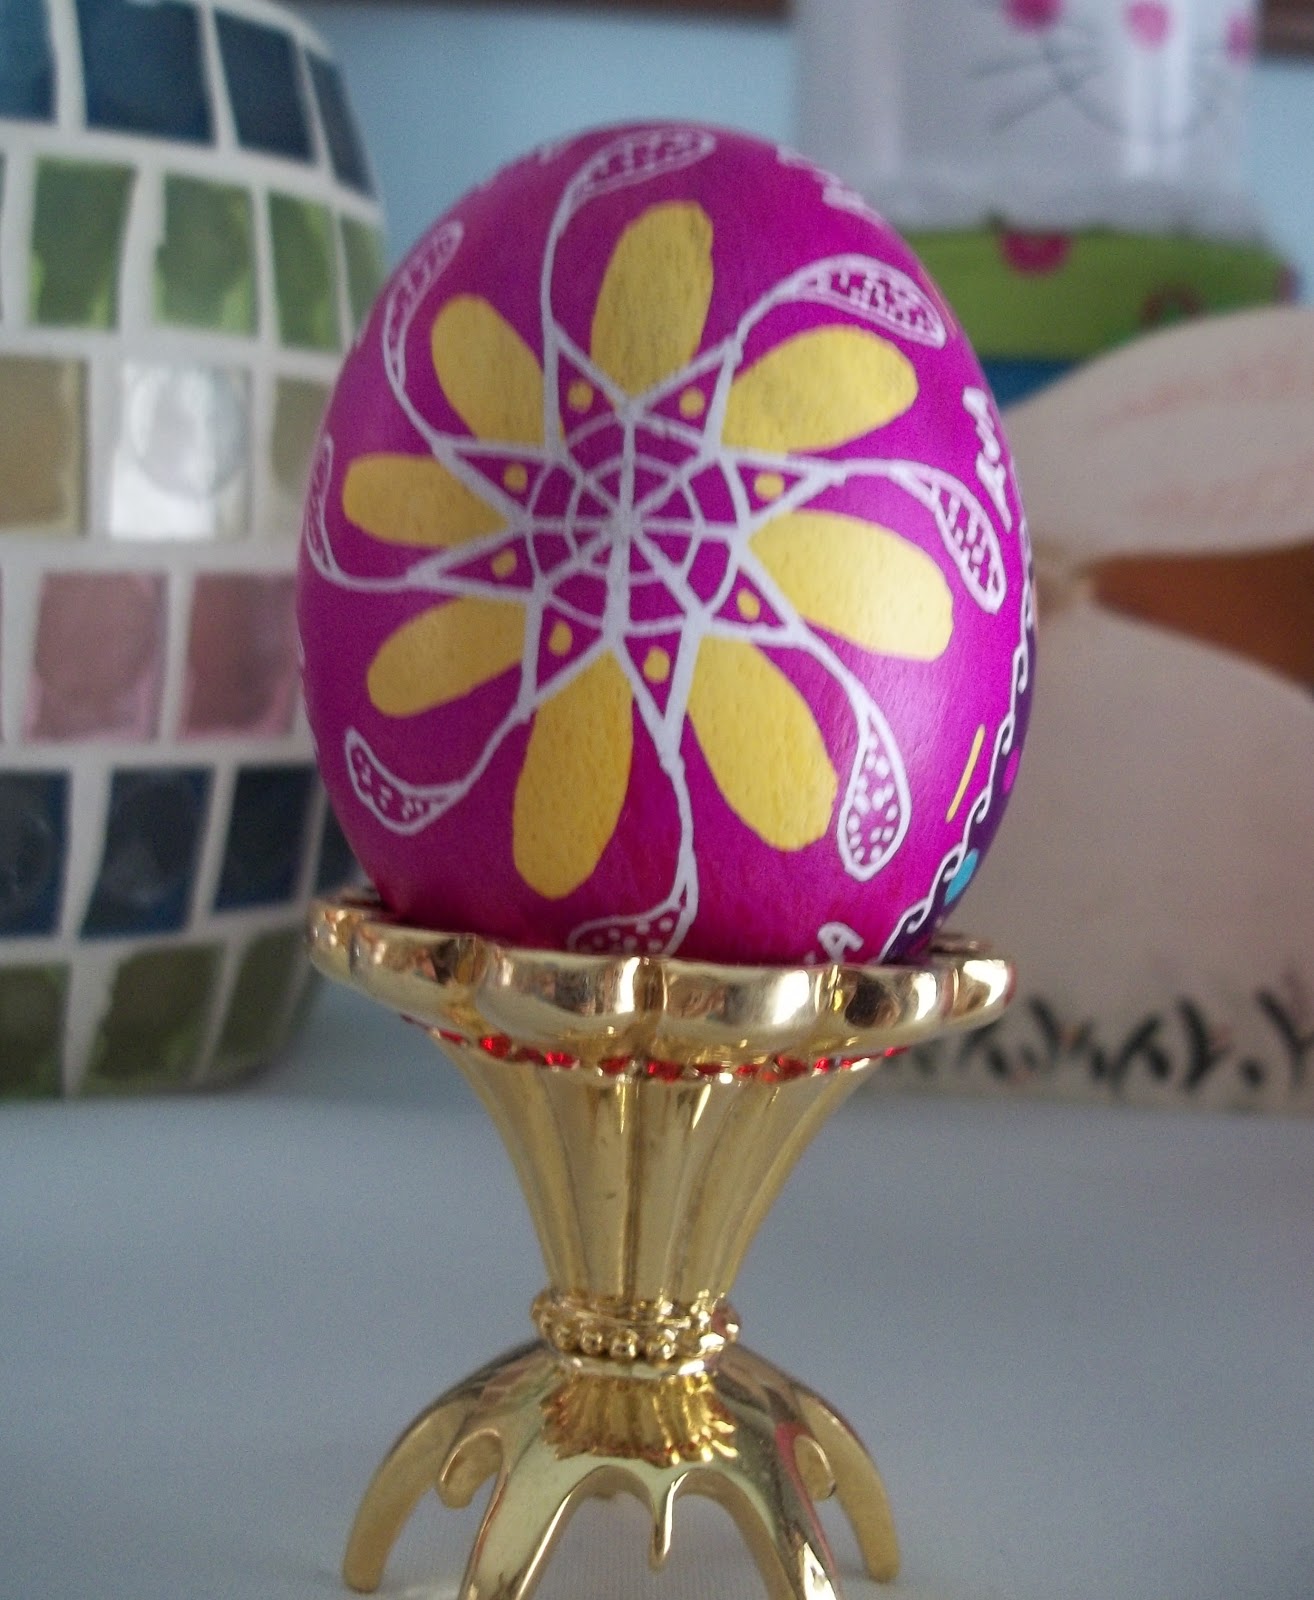
That's basically it. Now here's the eggs I've made this year along with closeups for you to see more in depth.
Front view
Side View
Back view
The back side view of the eggs on top of the page.